A post is a great piece of information that is provided to the customers. So, you often need to showcase some specific posts or category posts or the latest posts. In this case, a responsive post carousel is so beneficial to you. Because with a responsive post carousel you can easily highlight your specific posts in front of your customers or visitors.
So, to create a responsive post carousel in WordPress, we will use the most amazing WordPress Carousel Pro plugin. It is a multi-purpose WordPress plugin that allows you to create the post carousel easily. Moreover, we have to follow the following steps to move forward-
Step-1: WordPress Carousel Pro Installation and Activation
Step-2: Create a Post Carousel
Step-3: Customization of the Post Carousel
Step-4: Display the Responsive Post Carousel
Step-1: WP Carousel Pro Installation and Activation
The installation and activation of a WordPress plugin similar to all. So, I hope you are well known about this installation and activation process. Moreover, if you need any help with the installation and activation process, you can check out this installation guideline, so that you can understand the process.
Step-2: Create a Post Carousel
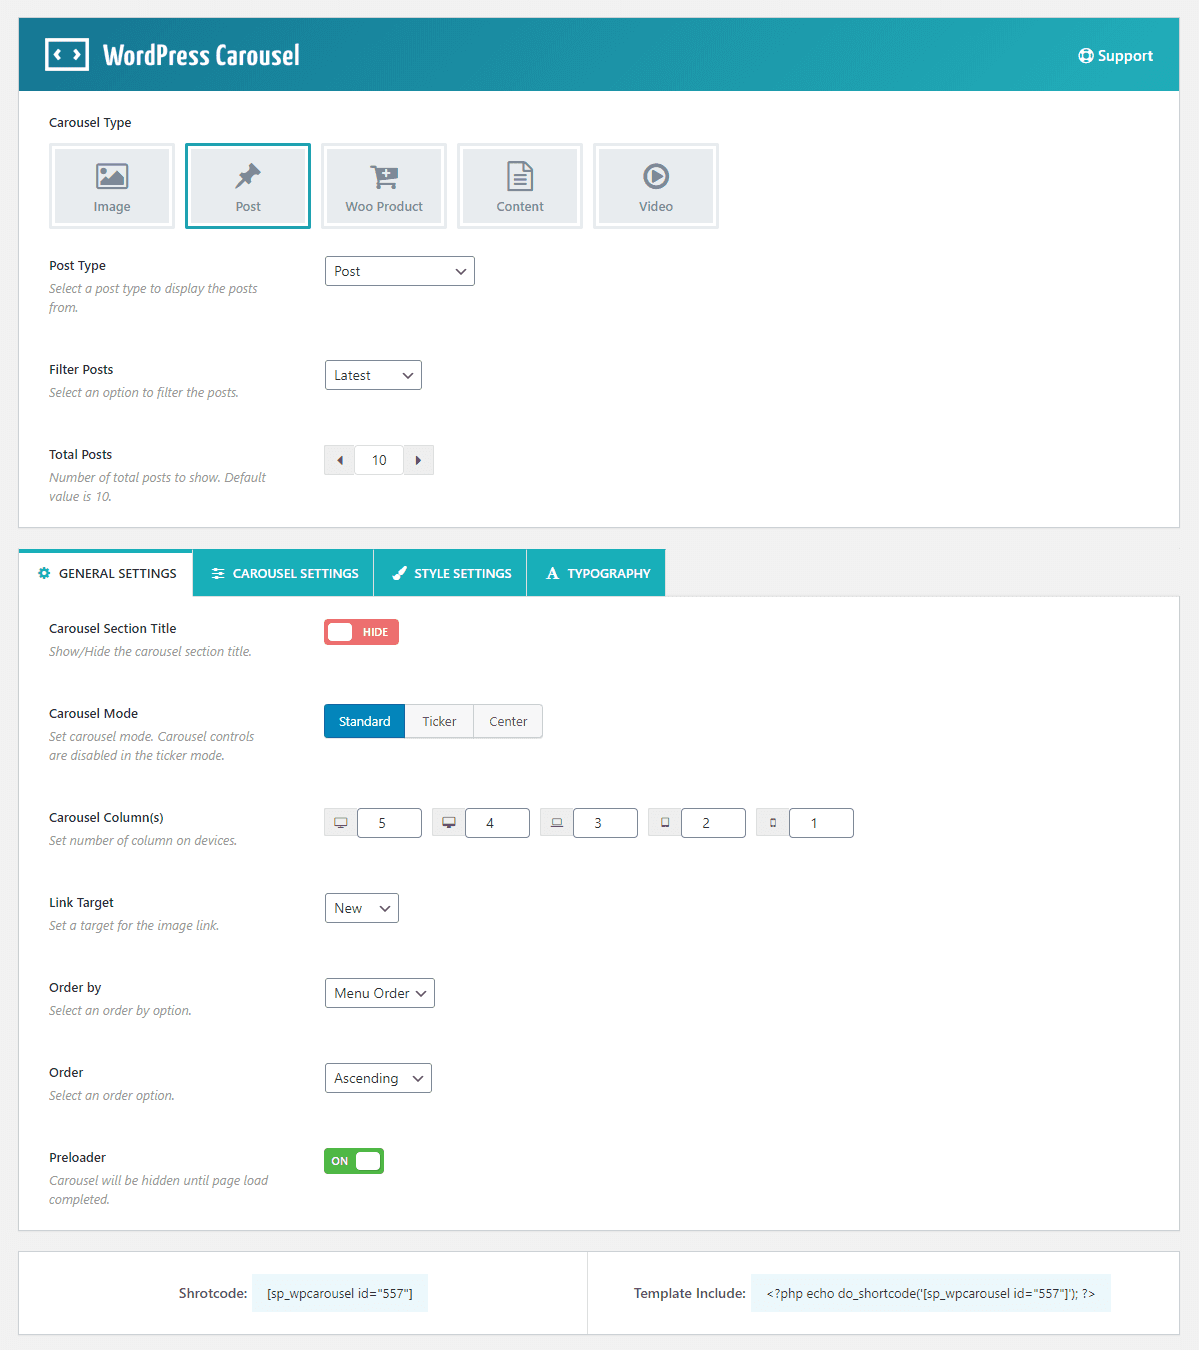
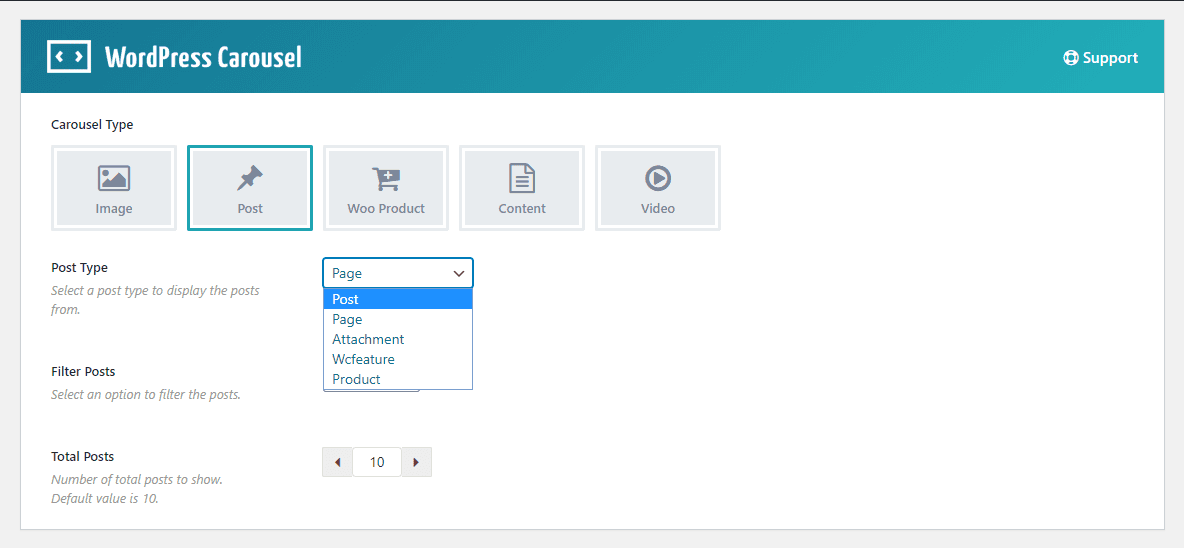
Once you finish the installation and activation of the WordPress Carousel Pro plugin, you will find the WP Carousel Pro menu. So, click on the Add New menu. Consequently, it will open an interface with a number of setting fields. Now, give a title for the carousel. As our aim is to create a post carousel, you have to select the post carousel type from the Carousel Type.
Consequently, you can make the post carousel with the latest posts or category posts or specific posts. However, suppose I want to create the post carousel with the latest posts. So, the interface was like the following screen.
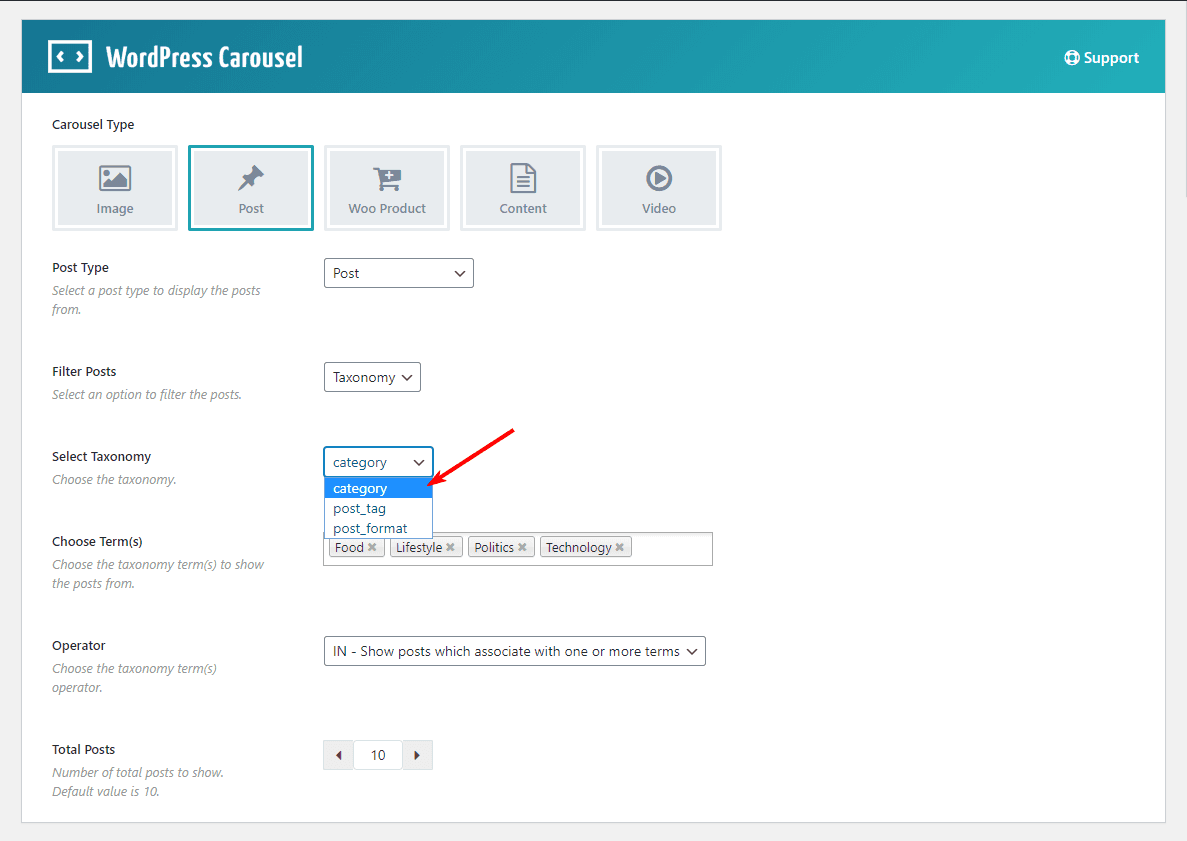
In addition, there is an option that allows you to filter the posts. You can filter and display posts from taxonomy.
You can filter and display posts from specific posts in the carousel. Here is how:

You can display any post types
Step-3: Customization of the Post Carousel
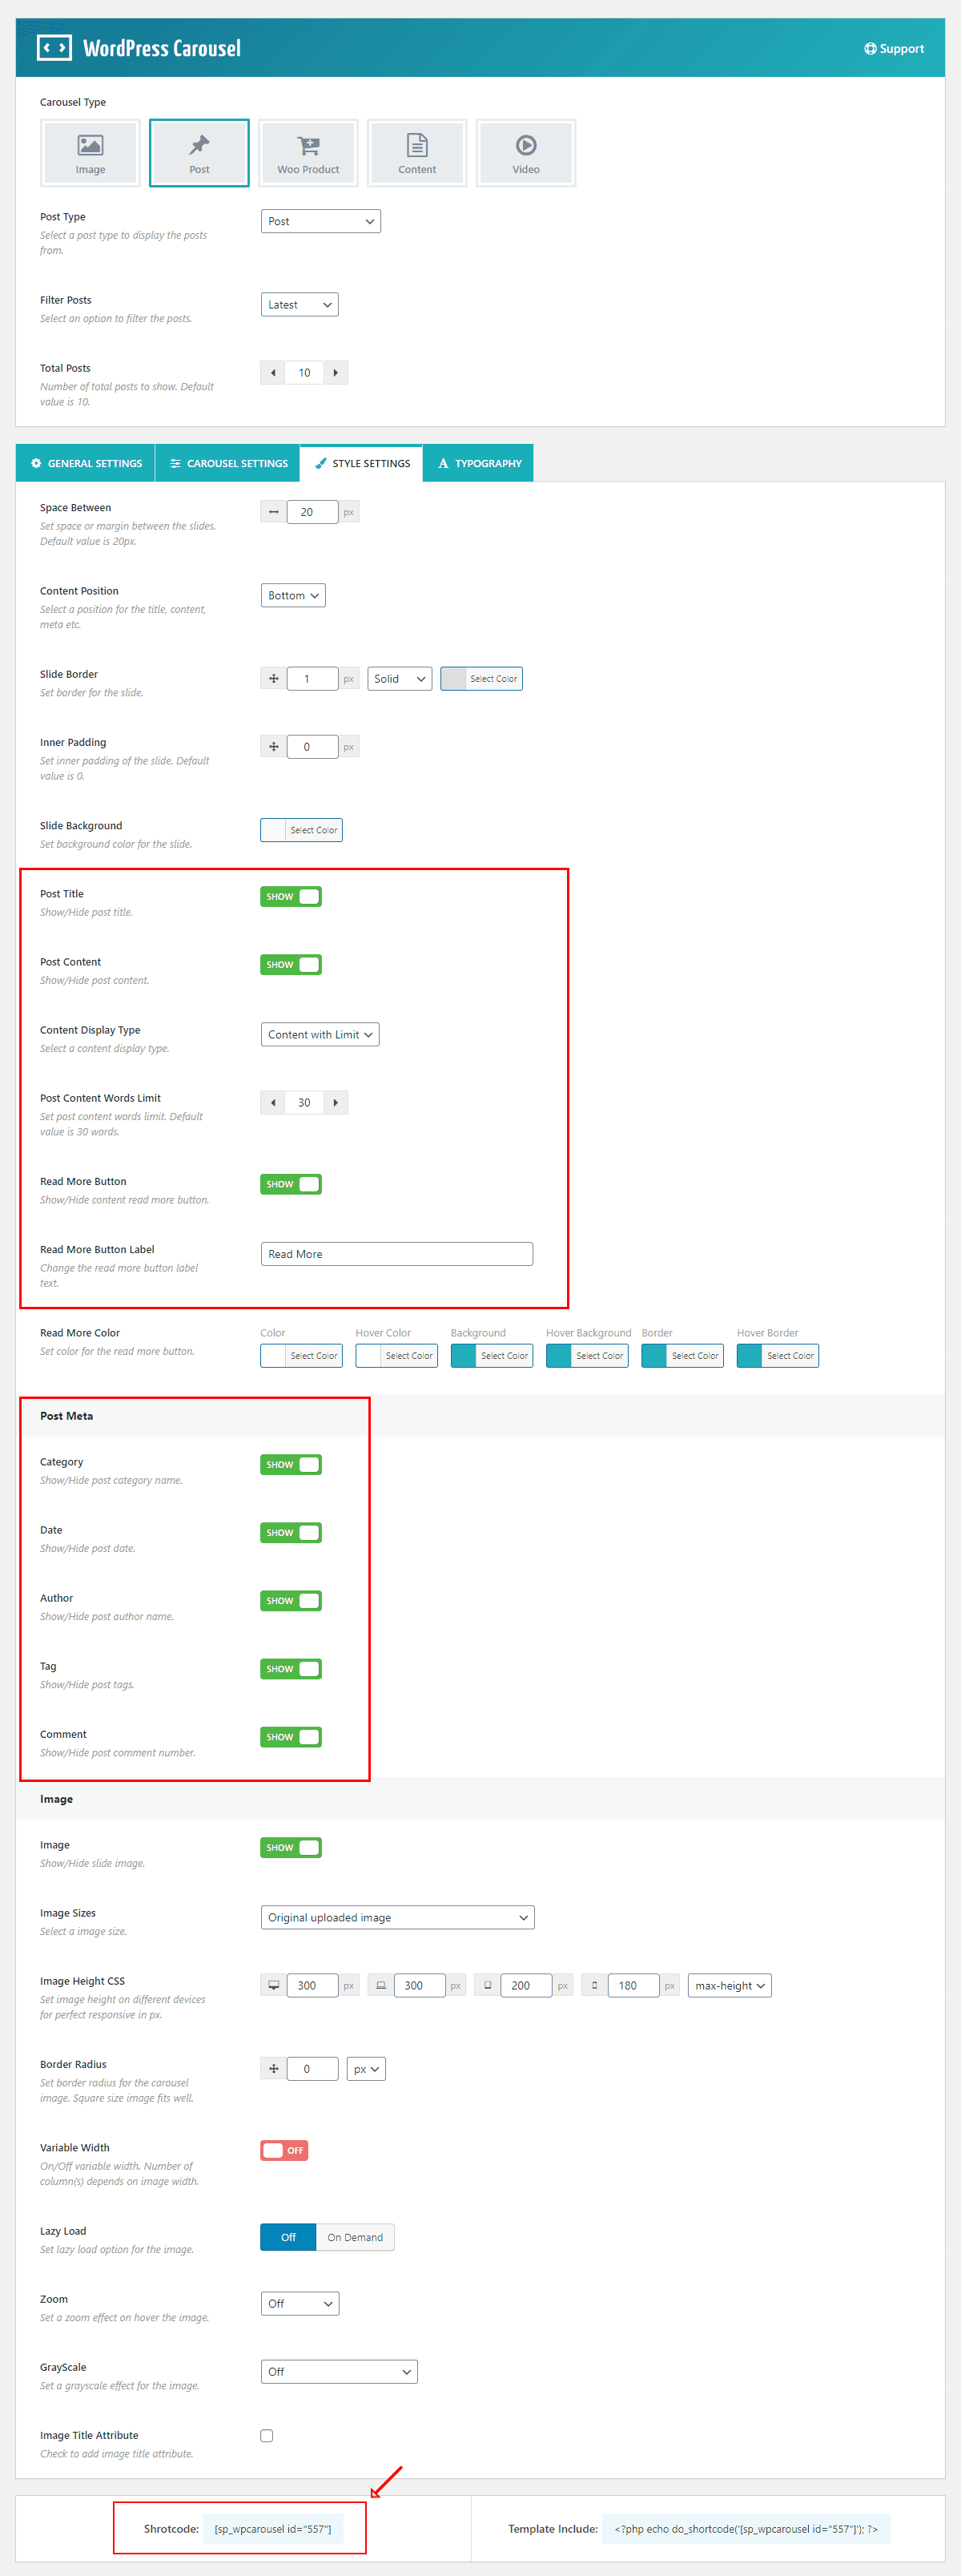
Now, you will find 4 different tabs to customize the carousel. These tabs allow you to customize everything related to the carousel. Moreover, now I want to show some customization on Post Meta. So, click on the STYLE SETTINGS tab and scroll down to the POST META section. Here you will find different post meta like category, tag, author, comment, etc. Suppose I want to show only date and author and keep others hide in the carousel. Then, the settings look like the following screen.
Finally, we have done everything you need. So, it is time to publish the carousel. However, one thing I want to inform you that, you have the flexibility of the customization of this carousel as per your need. For this reason, you just need to follow the customization fields.
Step-4: Display the Responsive Post Carousel
I hope you have successfully created your post carousel with your expected posts. Therefore, we have just a last step and that is to display the post carousel in our expected place. Once you publish the carousel, you will find a smart shortcode to display the carousel anywhere you need. So, copy the shortcode and paste anywhere you want.

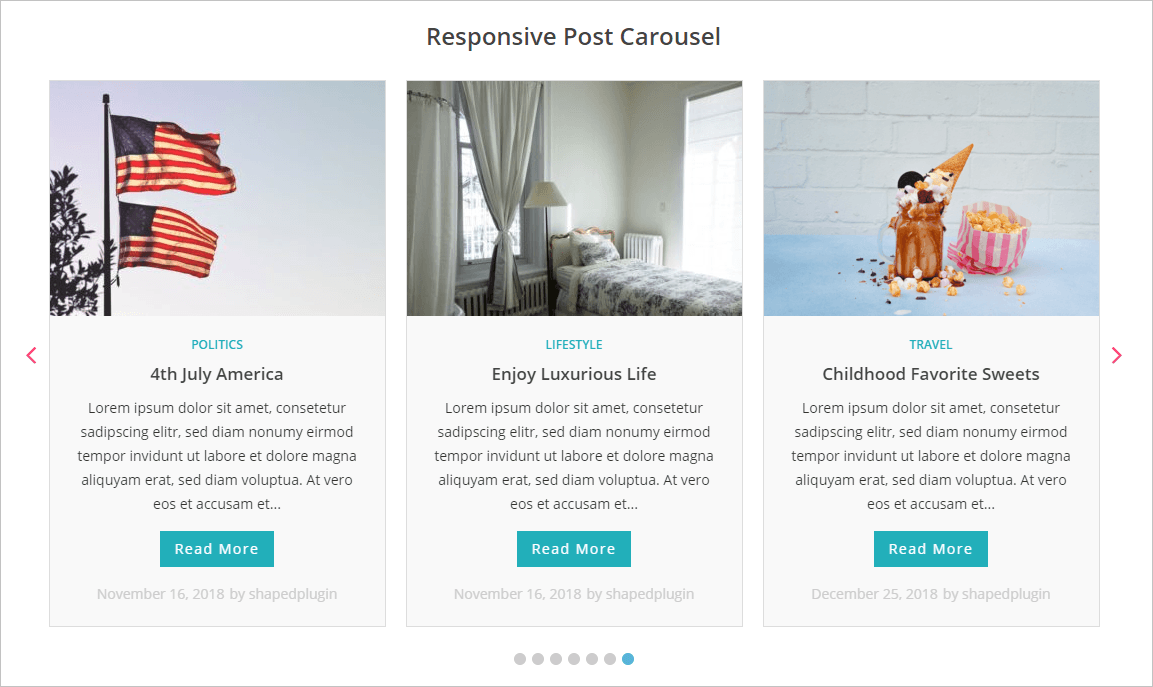
I have copied and pasted the shortcode in a page and found the following result on my webpage.
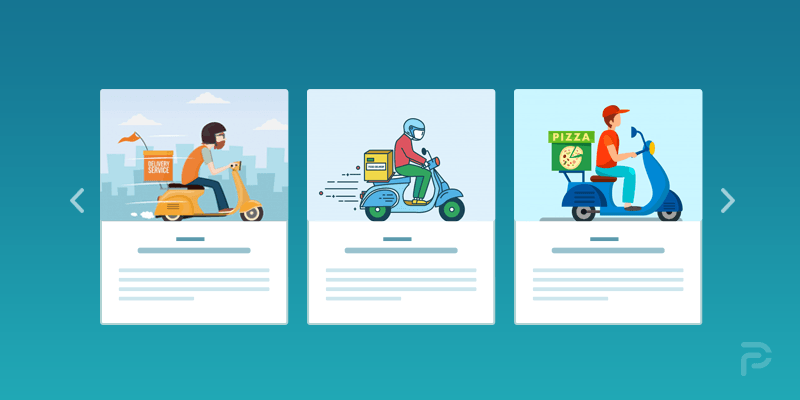
Done. It is really a very simple and easy process to create and display a post carousel. And then you can create same way different post content position post carousel, like below easily:


Therefore, if you followed my all steps one by one, I hope, you have also got your expected result with your own posts and you have enjoyed it.
Leave a Reply