
WooCommerce product badges make your particular products stand out and draw your shop visitors’ attention. As a result, you get more orders than before, and your business grows largely.
All online, even offline, stores use product badges to grab customers’ attention and boost sales.
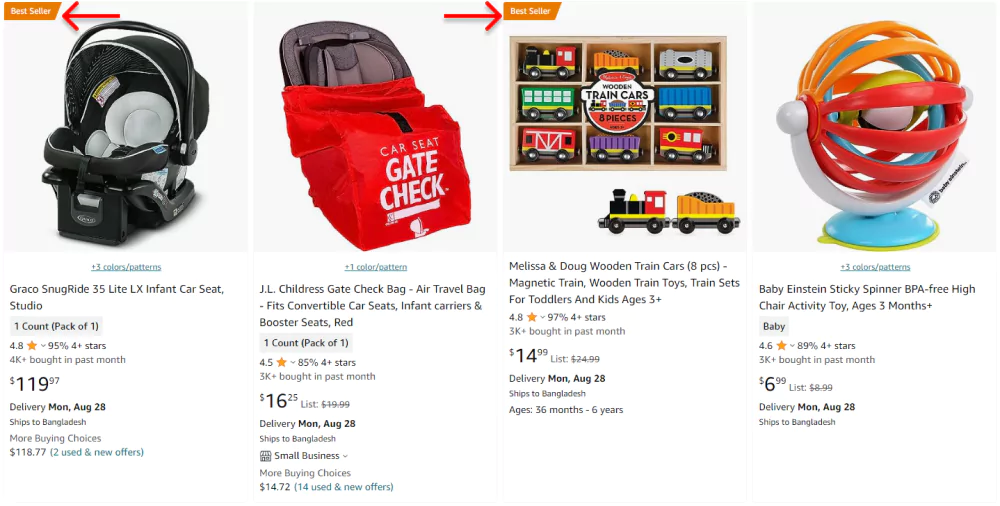
Product badges in Amazon:
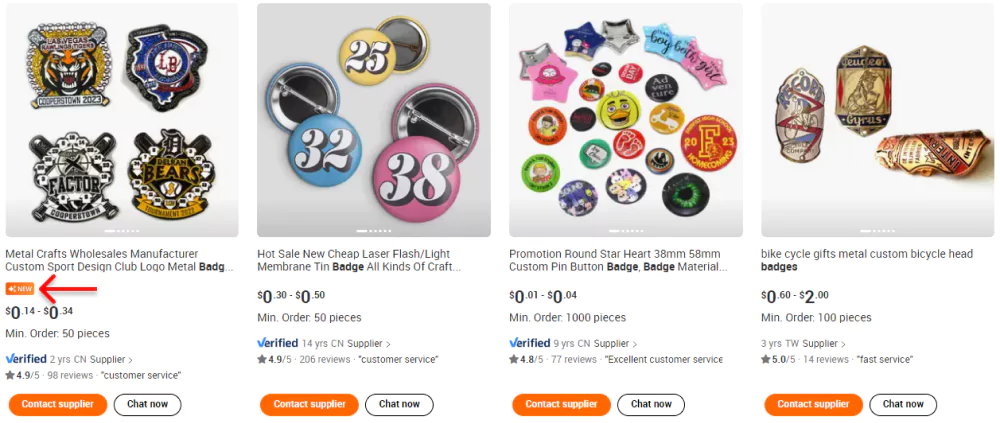
Product badges in Alibaba:
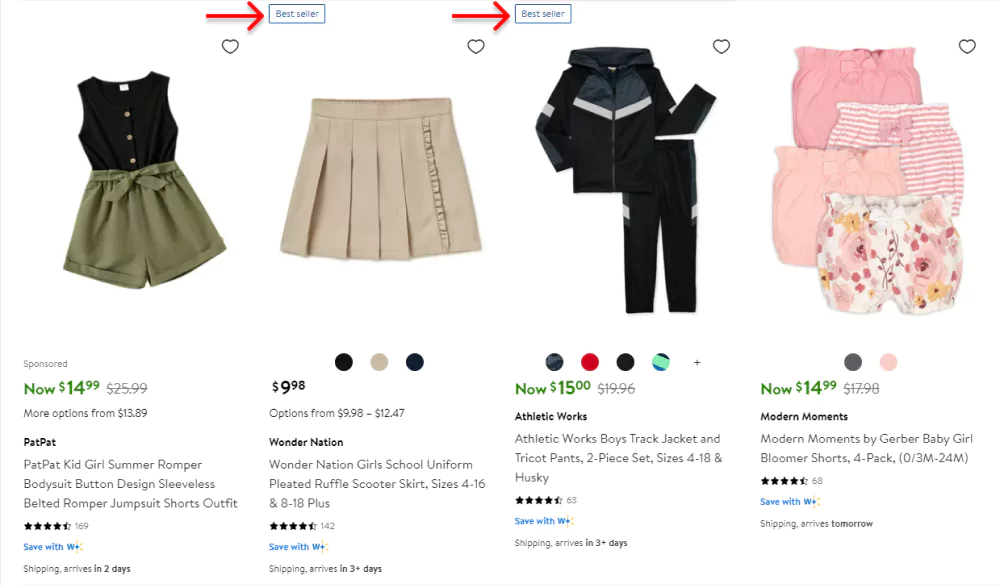
Product badges in Walmart;
All use WooCommerce product badges to draw attention and increase conversion.
Why not you?
Let’s find a couple of minutes to see how to add and customize product badges easily without coding skills.
Table of contents
4 easy steps to add WooCommerce product badges
Follow the simple four steps to add attention-grabbing badges to your WooCommerce products. Moreover, you can do it in minutes with no code.
For example, now, we will add an On Sale, Discount, or Price Reduced badge. The process of adding other badges is almost the same.
Step 1: Install Product Slider for WooCommerce plugin
We’ll add WooCommerce custom product badges in minutes without writing code. So, we need to install a good plugin for it.
However, a good plugin not only offers tons of features but also makes sure qualities such as standard coding, intuitive user interfaces, fast performance, compatibility with other plugins and themes, regular updates with the latest web technologies, and a lightweight structure. Failure to meet these qualities can result in many errors on your site and slow it down. Most importantly, the plugin should be user-friendly and compatible with the latest version of WordPress so you can work seamlessly.
Considering all these facts censoriously, I prefer Product Slider for WooCommerce Pro to add badges to WooCommerce products. It can be the best product showcase solution for your WooCommerce store too.
In essence, Product Slider for WooCommerce is a complete solution to create beautiful WooCommerce product showcases that draw your visitors’ attention and grow conversion. It allows you to filter products by many options and create product showcases in 5 different layouts:
- Product Slider
- Product Carousel
- Product Even Grid
- Product Masonry Grid
- Product Table
Moreover, it offers 30+ beautiful templates and a wide range of features, including WooCommerce product badges.
Let’s install and activate Woo Product Slider.
If you are a newcomer (future master), you can watch this tutorial to learn how to install and activate Woo Product Slider Pro.
You can read the documentation or contact the friendly support team for more help.
Step 2: Set regular and sale prices for the products
After you install and activate Woo Product Slider, you will find it on your WordPress admin sidebar, as seen below in the following screenshot. So, open your WordPress dashboard in a new tab and follow the simple steps.
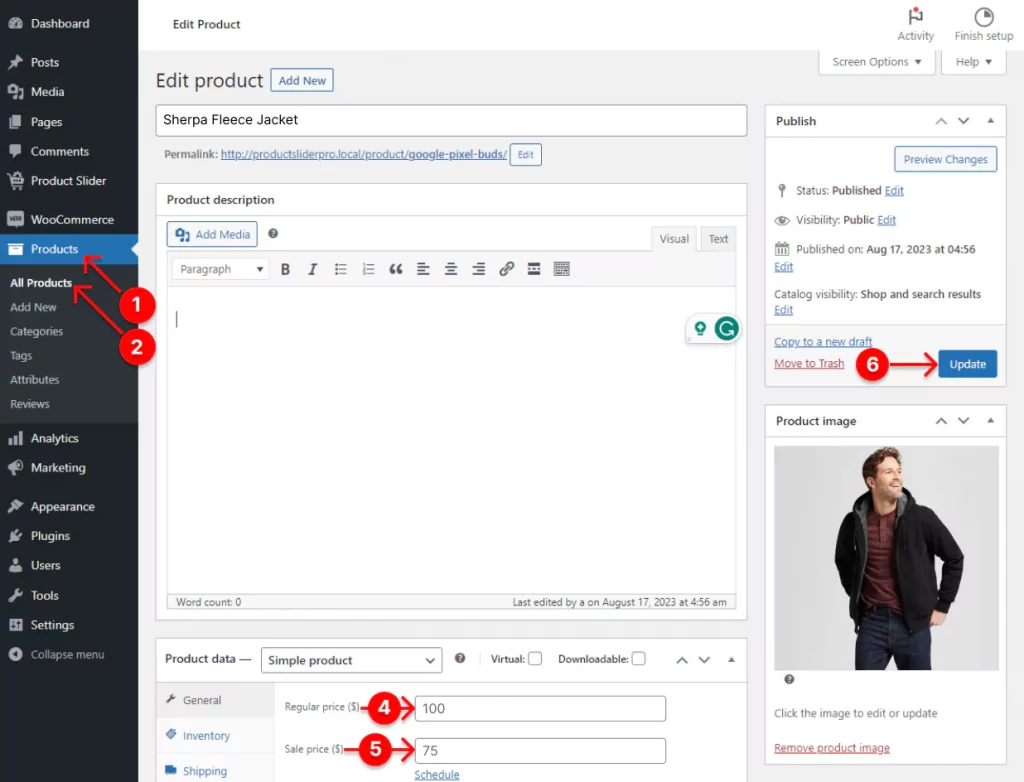
- First, click Products.
- Next, All Products. Click Add New to add new products.
- This step is unseen in the screenshot above. In the 2nd step, when you click All products, it displays the list of all your products. There you can filter your products by category, type, and more. Click the image, name, or Edit option of the product you want to add discount badges. It displays the above screen.
- Input regular price.
- Input Sale price.
- Click the Update button. Click the Publish button while adding new products.
Step 3: Add WooCommerce product badges
Now, let’s add badges to the products. Follow the steps below.
However, if you want to add badges to the products of an existing product showcase published by Woo Product Slider, skip the steps shown in the next two screenshots. Jump into the DISPLAY OPTIONS tab.
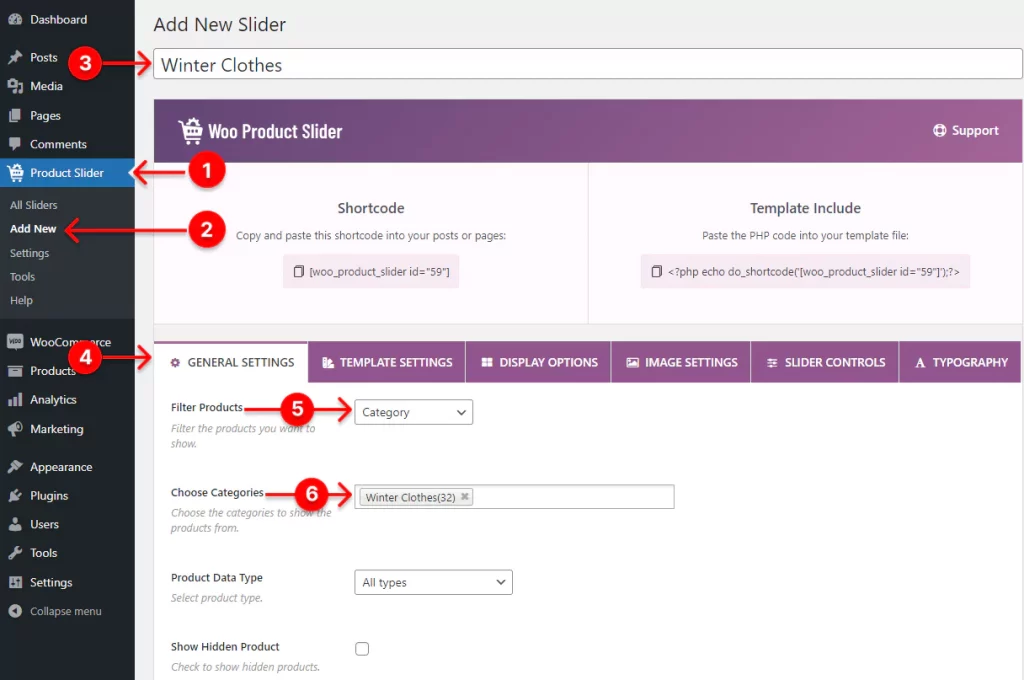
- First, click Product Slider.
- Next, click Add New.
- Then, give your product showcase a title. For example, I’ve named it Winter Clothes.
- Click the GENERAL SETTINGS tab.
- Pick the Category, the Latest, or whatever you need from the list.
- Choose the category you want to add badges to the products from. Remember to scroll down and increase the product display limit number to display all the products of the category.
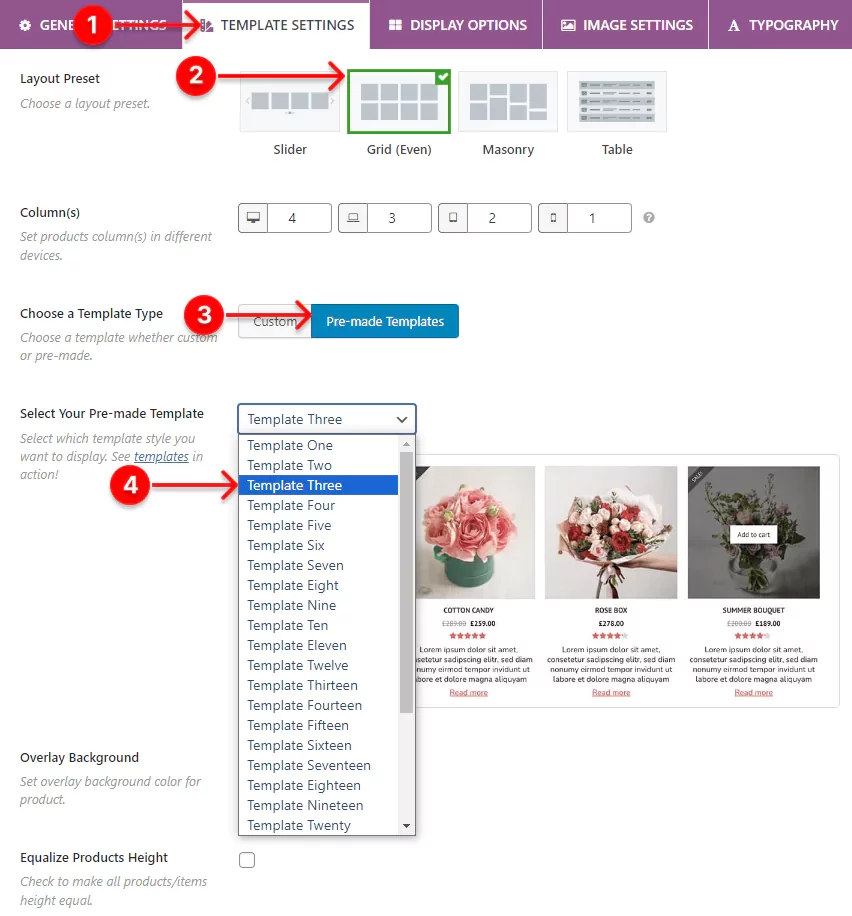
- First, click the TEMPLATE SETTINGS.
- Next, select a layout. I’ve selected the Grid layout.
- Then, choose the Pre-made Templates. However, you can choose Custom to go on your way.
- Now, choose a template. I’ve chosen Template Three.
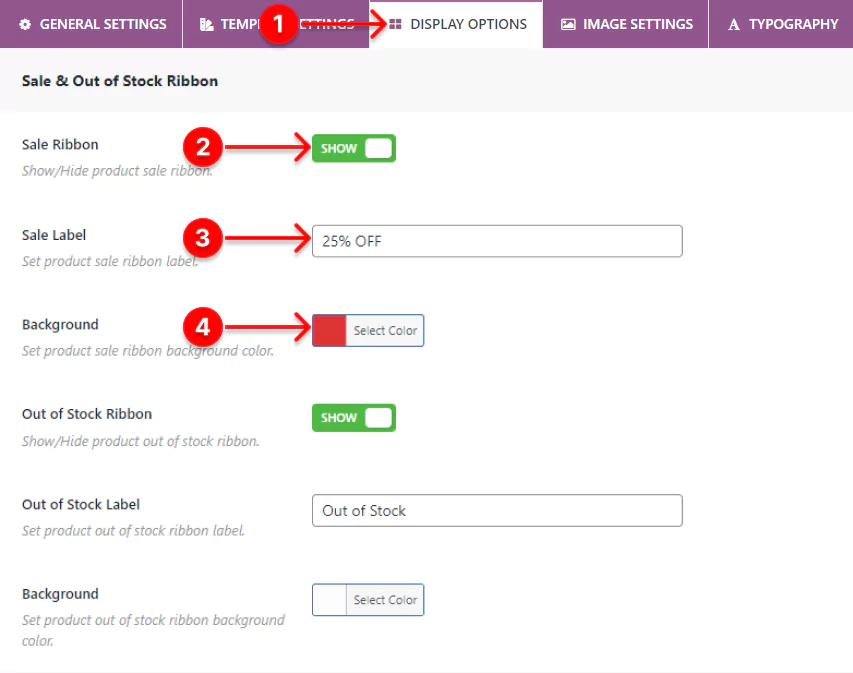
- First, click the DISPLAY OPTIONS button. Scroll down to find Sale & Out of Stock Ribbon.
- Turn on the Sale Ribbon radio button.
- Write the badge text. For instance, I’ve written 25% OFF. You can write whatever you think is better, like:
- Save 25%
- 25% Discount
- Price Reduced
- On Sale
- Best Seller
- Top Rated etc.
- You can add a custom color to the badge background to make the badges more visible.
Step 4: Publish the product showcase with the badges
After you add the badges to the products and design the product showcase perfectly, it’s time to hit the publish buttons.
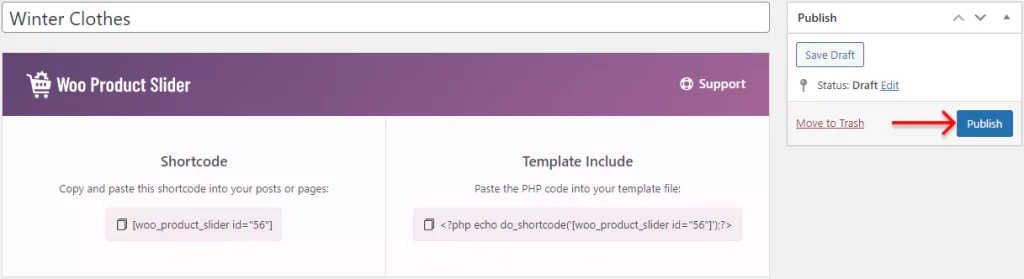
First, scroll up and hit the Publish or, Update button. Next, copy the shortcode and paste it where you want to display your product showcase with the badges.
Alternatively, after you hit the Publish button at the top right corner, as seen in the above screenshot, go to the page or post you want to display the product showcase. Then take a new block and follow the steps below.
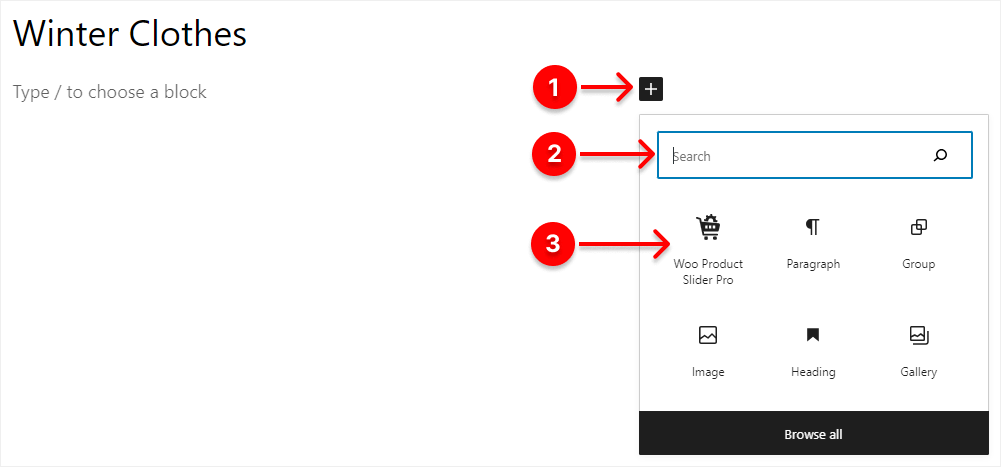
- First, click + (the plus icon).
- Next, type Woo Product Slider in the search bar.
- Click the Woo Product Slider Gutenberg block.
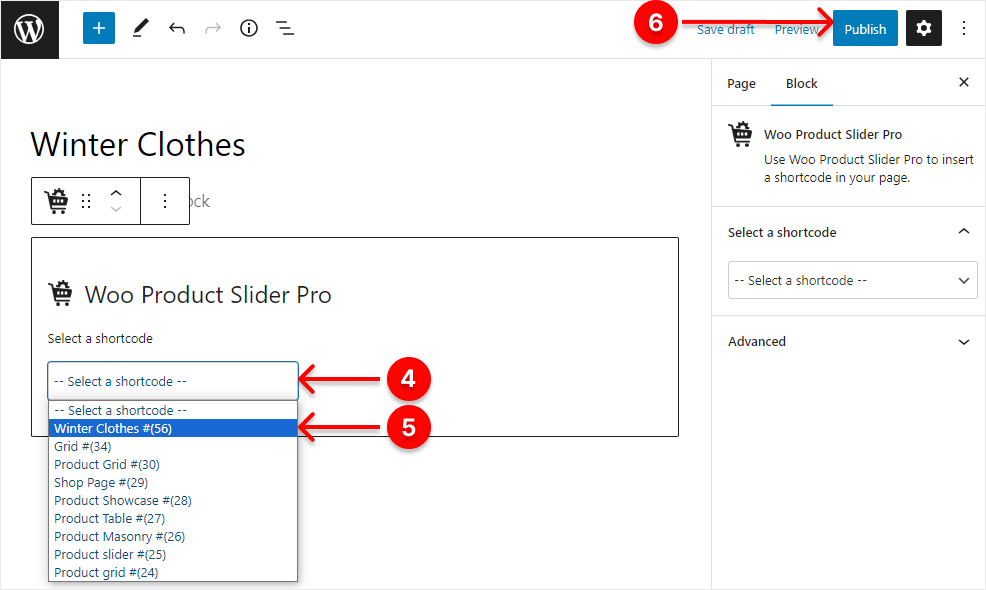
- Click the dropdown. It will show the list of the product showcase titles (product showcase shortcodes) you’ve created.
- Select the product showcase title you want to publish.
- Finally, hit the Publish or Update button.
Congratulations! You have accomplished it.
Here is how a primary product grid with WooCommerce product badges looks.

Take Away
Adding product badges is a wonderful way to make your particular products stand out. Moreover, they grab the attention of your store visitors and boost sales.
You can add the product badges in four simple steps. Furthermore, you can do it without writing a single line of code.
So, add product badges to your WooCommerce products and start getting more orders today.
Thanks for reading. We love to read your comments and reply. So, let’s discuss more in the comment box below.
If you find this blog helpful in learning to add WooCommerce product badges in minutes, please share it with your friends and followers on social media.
Leave a Reply