The Vertical slider is a great way to add some visual interest to your WordPress blog. It can be used to showcase your latest posts or to highlight different elements of your blog design.
In this tutorial, I will show you how to create a vertical slider in WordPress. I will also share tips on making the vertical slider look great.
Let’s get started!
How to create a vertical slider in WordPress
Vertical and horizontal sliders are great for showing a lot of content in a small place. In some cases, the vertical slider works better than the horizontal slider.
You can’t create a slider with default WordPress functionality. In this case, you have to use a dedicated plugin. It is the same for the vertical slider. You can use a dedicated vertical slider plugin or a slider plugin that features the vertical sliding option.
There is a plugin called WP Carousel Pro; it is a full-fledge slider plugin. It allows to create vertical slider along with the horizontal slider.
In this tutorial, I will use the WP Carousel Pro plugin.
So, install and activate the WP Carousel Pro plugin.
Step one: Create a slider
WP Carousel Pro allows creating sliders from almost anything, for example, images, videos, contents, audio, tags, comments, and more.
So, you can create any type of slider you want. Here I will create an image slider. Here is how to create an image slider with WP Carousel Pro.
Go to the WordPress dashboard and navigate WP Carousel Pro.

Then, click on Add New. After that, write your slider title in the title box.

Now, choose Image as the source type. Then, add images. You can add as many images as you want.
To add images, click on Add Image. You can add images from your computer by uploading them or add images from uploaded images.
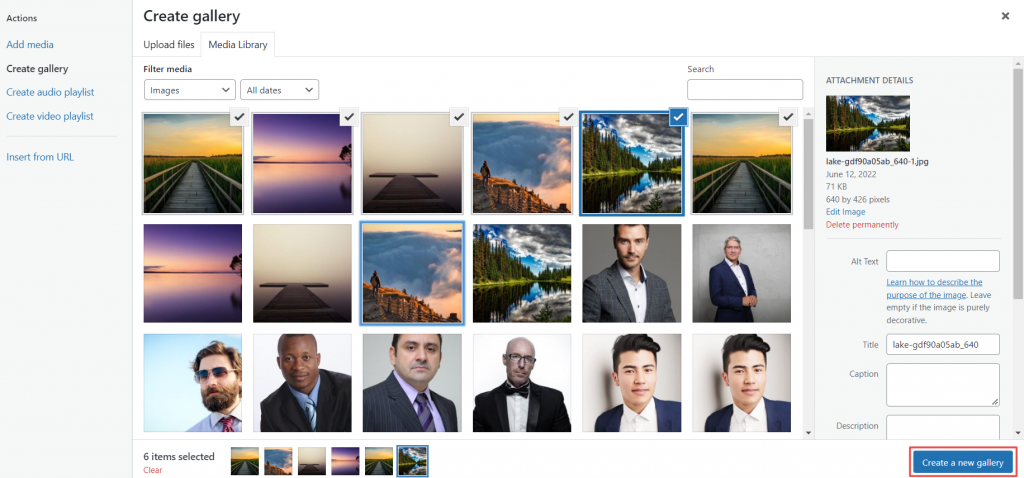
After selecting images, click on Create a new gallery, then Insert gallery.

You can add captions and descriptions for images.
Now, select the Carousel as the layout type from the Layout Type option.
At this point, the image slider is ready. But by default, its orientation is horizontal. You need to change the slider orientation to vertical.
Step two: Changing slider orientation from horizontal to vertical
In the previous step, I created an image slider whose orientation is horizontal. It is time to change its orientation from horizontal to vertical. Here is how to do that.
Go to Carousel Settings, then navigate Carousel Orientation. Now, choose Vertical as the carousel orientation.

Congratulation! You have successfully created a vertical image slider.
Now, hit the Publish button. Then, copy the shortcode and paste it where you want to display the vertical slider. You can display the vertical slider in pages, posts, custom pages, sidebar, etc.
Note: You can skip step three if you don’t want to customize the vertical slider.
Step three: Customize the vertical slider
WP Carousel Pro offers exciting features for customizing the slider appearance. So, let’s customize the vertical slider appearance.
First, start with the General Settings. It allows you to choose the carousel mode from three modes; Standard, Ticker, and Center. In addition, you can set the number of columns for particular devices. Additionally, you can select link type, set link, and order by.
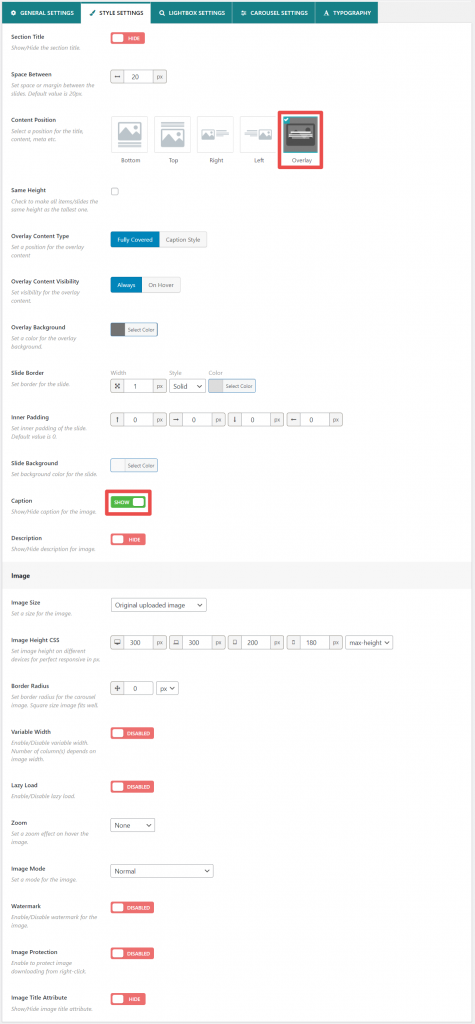
You can show/hide the title, image caption, and description from the Style settings. Also, you can set the slider background color, image size, and more.
Lightbox settings allow you to choose a lightbox icon, set icon size, icon color, enable/disable autoplay, and more.

Using the Carousel Setting, you can enable/disable autoplay, pause on hover, and infinite loop. Also, you can set autoplay and sliding speed. Furthermore, you can customize navigation, pagination, and miscellaneous.
Typography settings allow changing font color, family, height, size, style, and more.

This is how you can customize the vertical slider appearance.
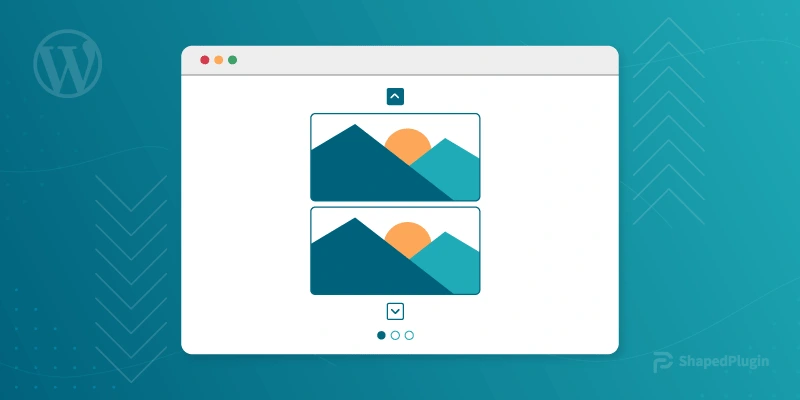
Here is how the vertical slider looks.

Final words
That’s all there is to it! You can now create a vertical slider in WordPress that will help you showcase your content attractively and engagingly.
Have fun with it, and experiment with the different customization options to see what works best for your website.
How do you like my tutorial? Do you have any questions about creating or using a vertical slider in WordPress? Let me know in the comments below.