Do you want to embed weather forecasts into your WordPress website in minutes without coding?
Yes!
Welcome to the easiest way to embed detailed, accurate, and beautiful weather forecasts.
Your weather-impacted business customers check the weather before they book and buy. If a customer leaves your website to check weather updates, (s)he hardly (only 20%) returns. So, embedding weather forecasts to your weather-impacted business websites is crucial to retaining your customers (80%) on your website and growing conversion rates.
Apart from that, the government and non-government organizations concerned about weather, safety, agriculture, health, environment, climate, etc, use weather widgets on their websites to provide people with real-time weather updates.
In this step-by-step guide, I’ll show you how to embed a beautiful weather showcase to your WordPress website in less than 5 minutes with zero coding knowledge.
So, let’s get in.
4 Easy Steps to Embed a Weather Forecast
Step 1: Install and Activate Location Weather
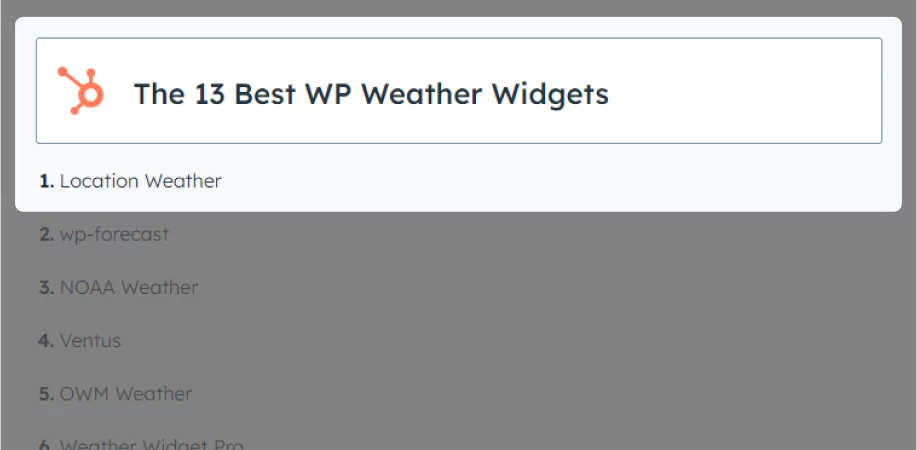
Based on its highest ratings, most active installations, and 5-star reviews on the official WordPress plugin repository, Location Weather is the #1 WordPress weather plugin to embed weather. It has also been featured as the No. 1 weather plugin on the world’s top platforms: Hubspot, WP Beginner, WP Engine, and more.
Location Weather is helping 12,000+ business and organization websites with beautiful and responsive weather widgets for any location (land and marine) worldwide. This most popular weather widget forecast plugin has been developed by prominent WordPress plugin company ShapedPlugin, which has empowered over 350,000 websites and accelerated their business growth.
Location Weather’s classic and gutenberg block editing flexibility, robust features, thoughtful user experience, intuitive interfaces, ease of use, regular updates, compatibility, versed and fast dedicated support team, and user support made it the number one WordPress weather widget plugin.
So, let’s install Location Weather. It’s simple.
However, if you are a beginner (future master), please see the documentation.
If you need support from experts, simply drop your query in the comment box at the bottom.
Step 2: Embed Weather Data with an API Key
After you install and activate Location Weather, have it on your WordPress dashboard admin sidebar, as seen in the next image. Now, follow the easy steps below to collect a free weather API key from OpenWeather and set it in Location Weather.
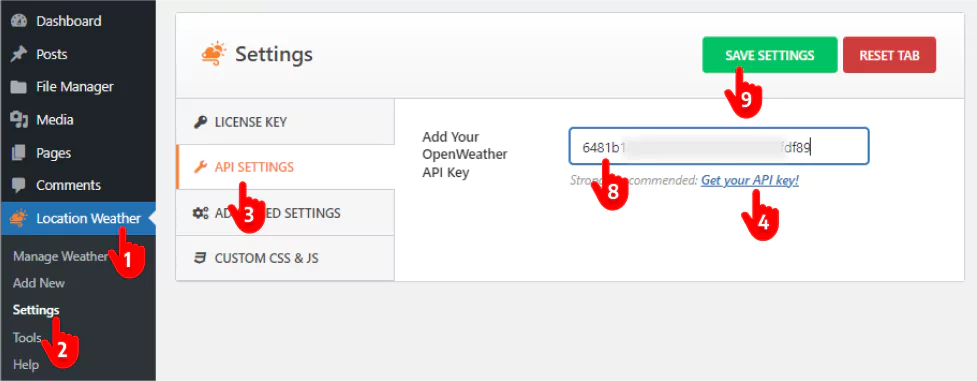
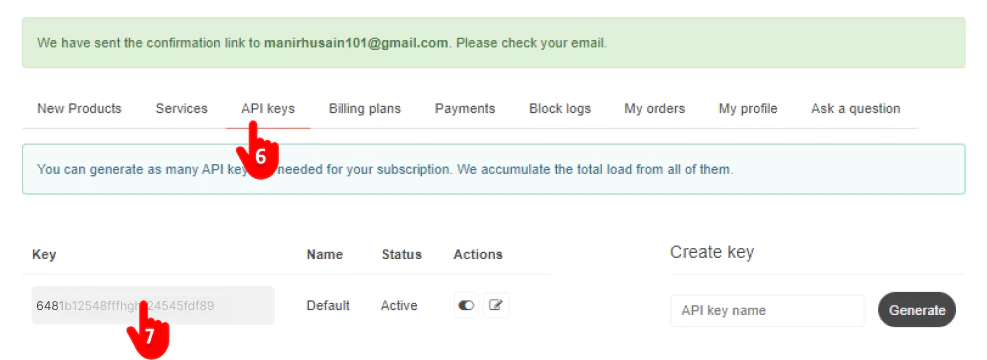
1. Go to your WordPress admin sidebar and click Location Weather. → 2. Settings. → 3. API SETTINGS → 4. Get your API key (You will be taken to the Sign Up page of OpenWeather) → 5. Sign up with your name and email. → 6. Navigate to the tab API keys. → 7. Copy the API key and go back to Location Weather’s API Settings. → 8. Paste your API key in the field. → 9. Hit the SAVE SETTINGS button.
Step 3: Choose a Template and Customize it
Select the best weather view for your website.
Location weather offers you a good number of beautiful responsive weather views and templates. Choose the best weather view based on your site design style.
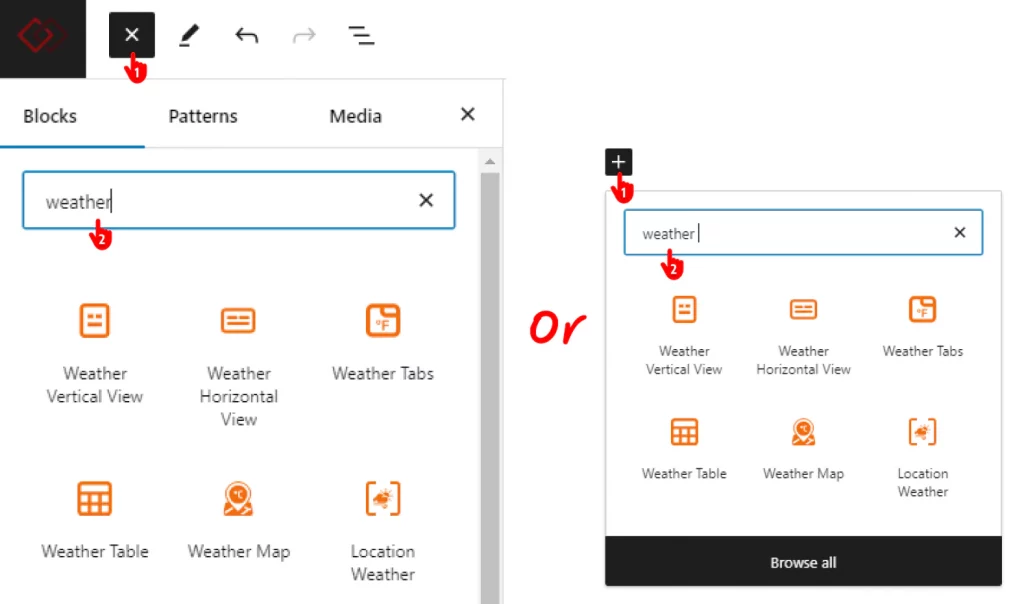
- Click the plus icon to take a new block.
- Type weather in the search bar.
- Take a weather view.
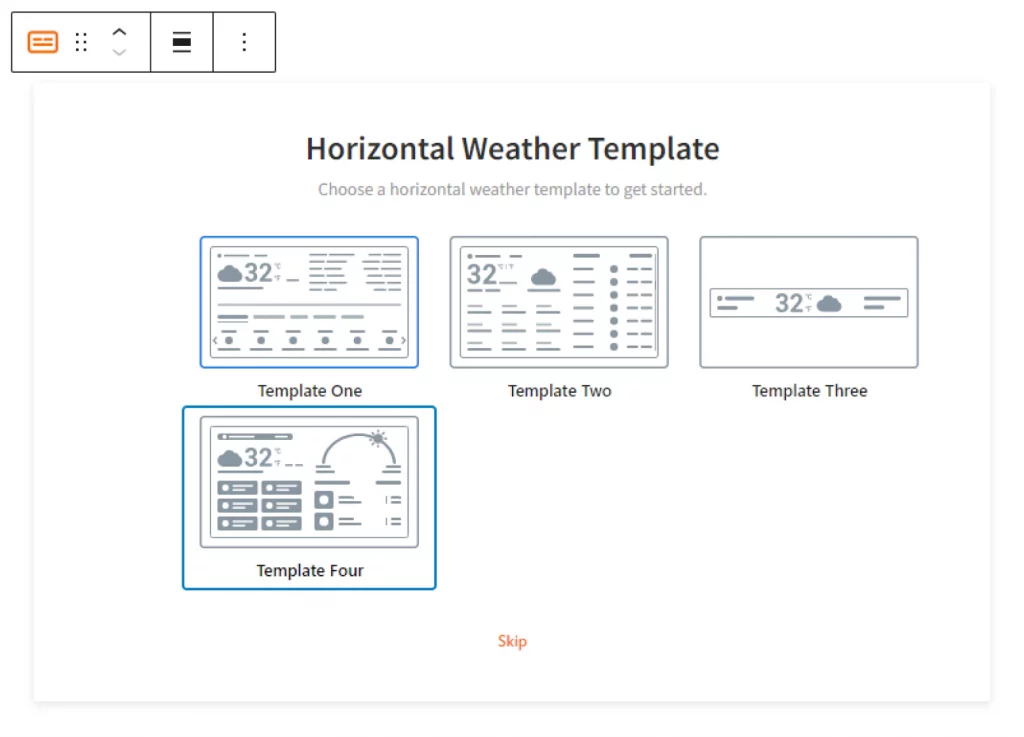
Choose the best weather template based on the data quantity you want to display and
Set the Location
Navigate to the “Get Weather Data By” section and set the location you want to display weather data for.
Using the coordinates of a location is the best option to embed weather data seamlessly.
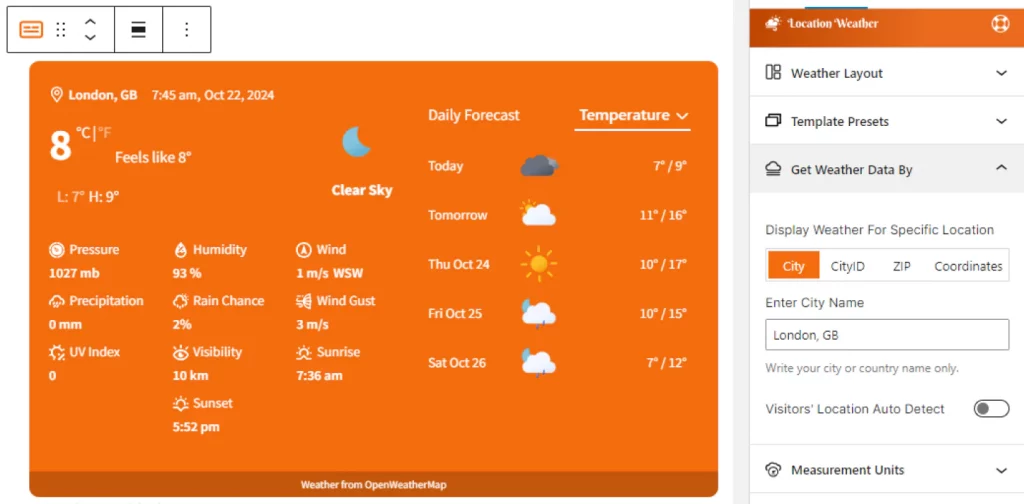
You can also enable the “Visitors’ Location Auto Detect” option to display based on visitors’ respective locations.
Customize the Template
Location Weather offers many customizations, as you can see in the screenshot of the plugin customization panel.

Some of the key customizations are as follows.
- Custom template width
- Custom background color (solid & gradient)
- Weather-based image background
- Custom image background
- Video background
- Custom overlay color
- Custom icon and text color
- Custom margin-padding, Border, Radius, BoxShadow and more
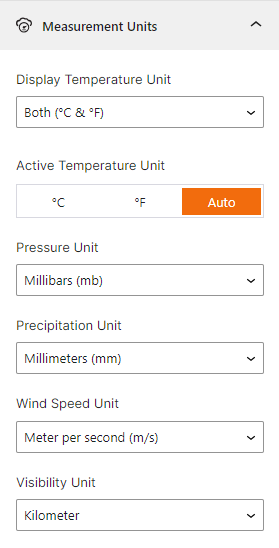
Use the Most Common Weather Data Units for Visitors
Location Weather offers huge flexibility when choosing the weather units for your visitors.
The most flexible and accessible Display Temperature Unit option is “Both °C & °F” and the Active Temperature Unit option is “Auto”.
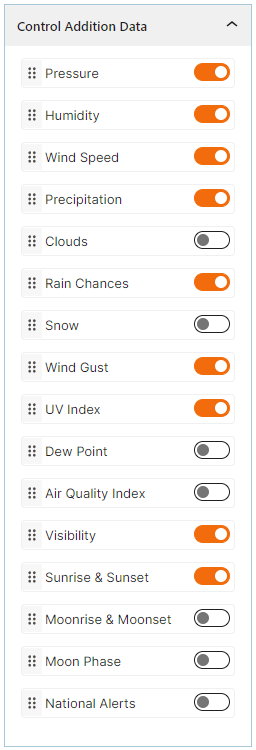
Display Additional Data as Much Needed
You would be able to display the most detailed weather widget with Location Weather. Turn them on or off based on your requirements.
Step 4: See the Preview and Publish
Before you Publish or Update, please check the preview. If everything sounds perfect, hit the Publish or Update button.
Greatly done! Your weather showcase is live.
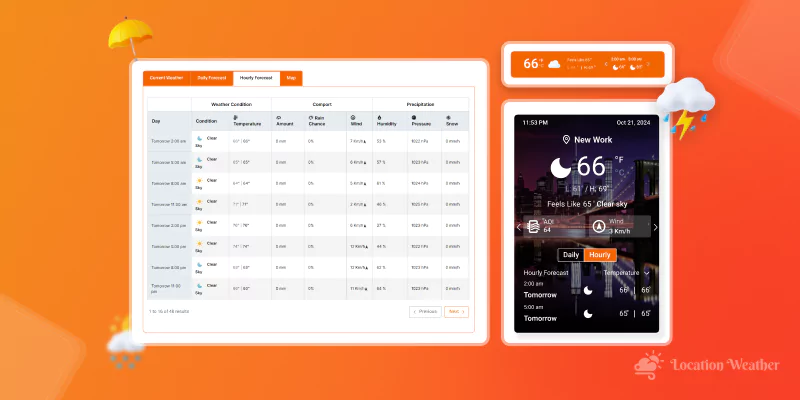
This is how a basic weather showcase looks.
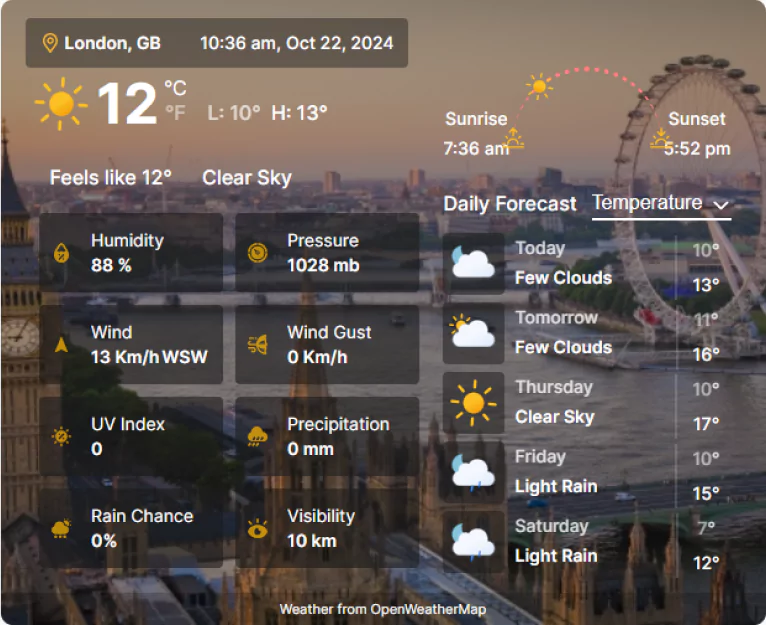
That said, you can craft a more detailed and beautiful weather showcase with your creative power and Location Weather’s robust features.
Weather showcases keep the customers of your weather-dependent businesses engaged with your site and significantly grow conversion.
So, let’s create a beautiful weather showcase for your site and stop losing customers today.
You can also learn more about the best weather forecast plugins.
Leave a Reply