Creating a Weather Widget is super easy and fast. It can be done within a minute. Complete guidance (A-Z) has been described here for the first time or new user.
STEP 1: ADD API KEY
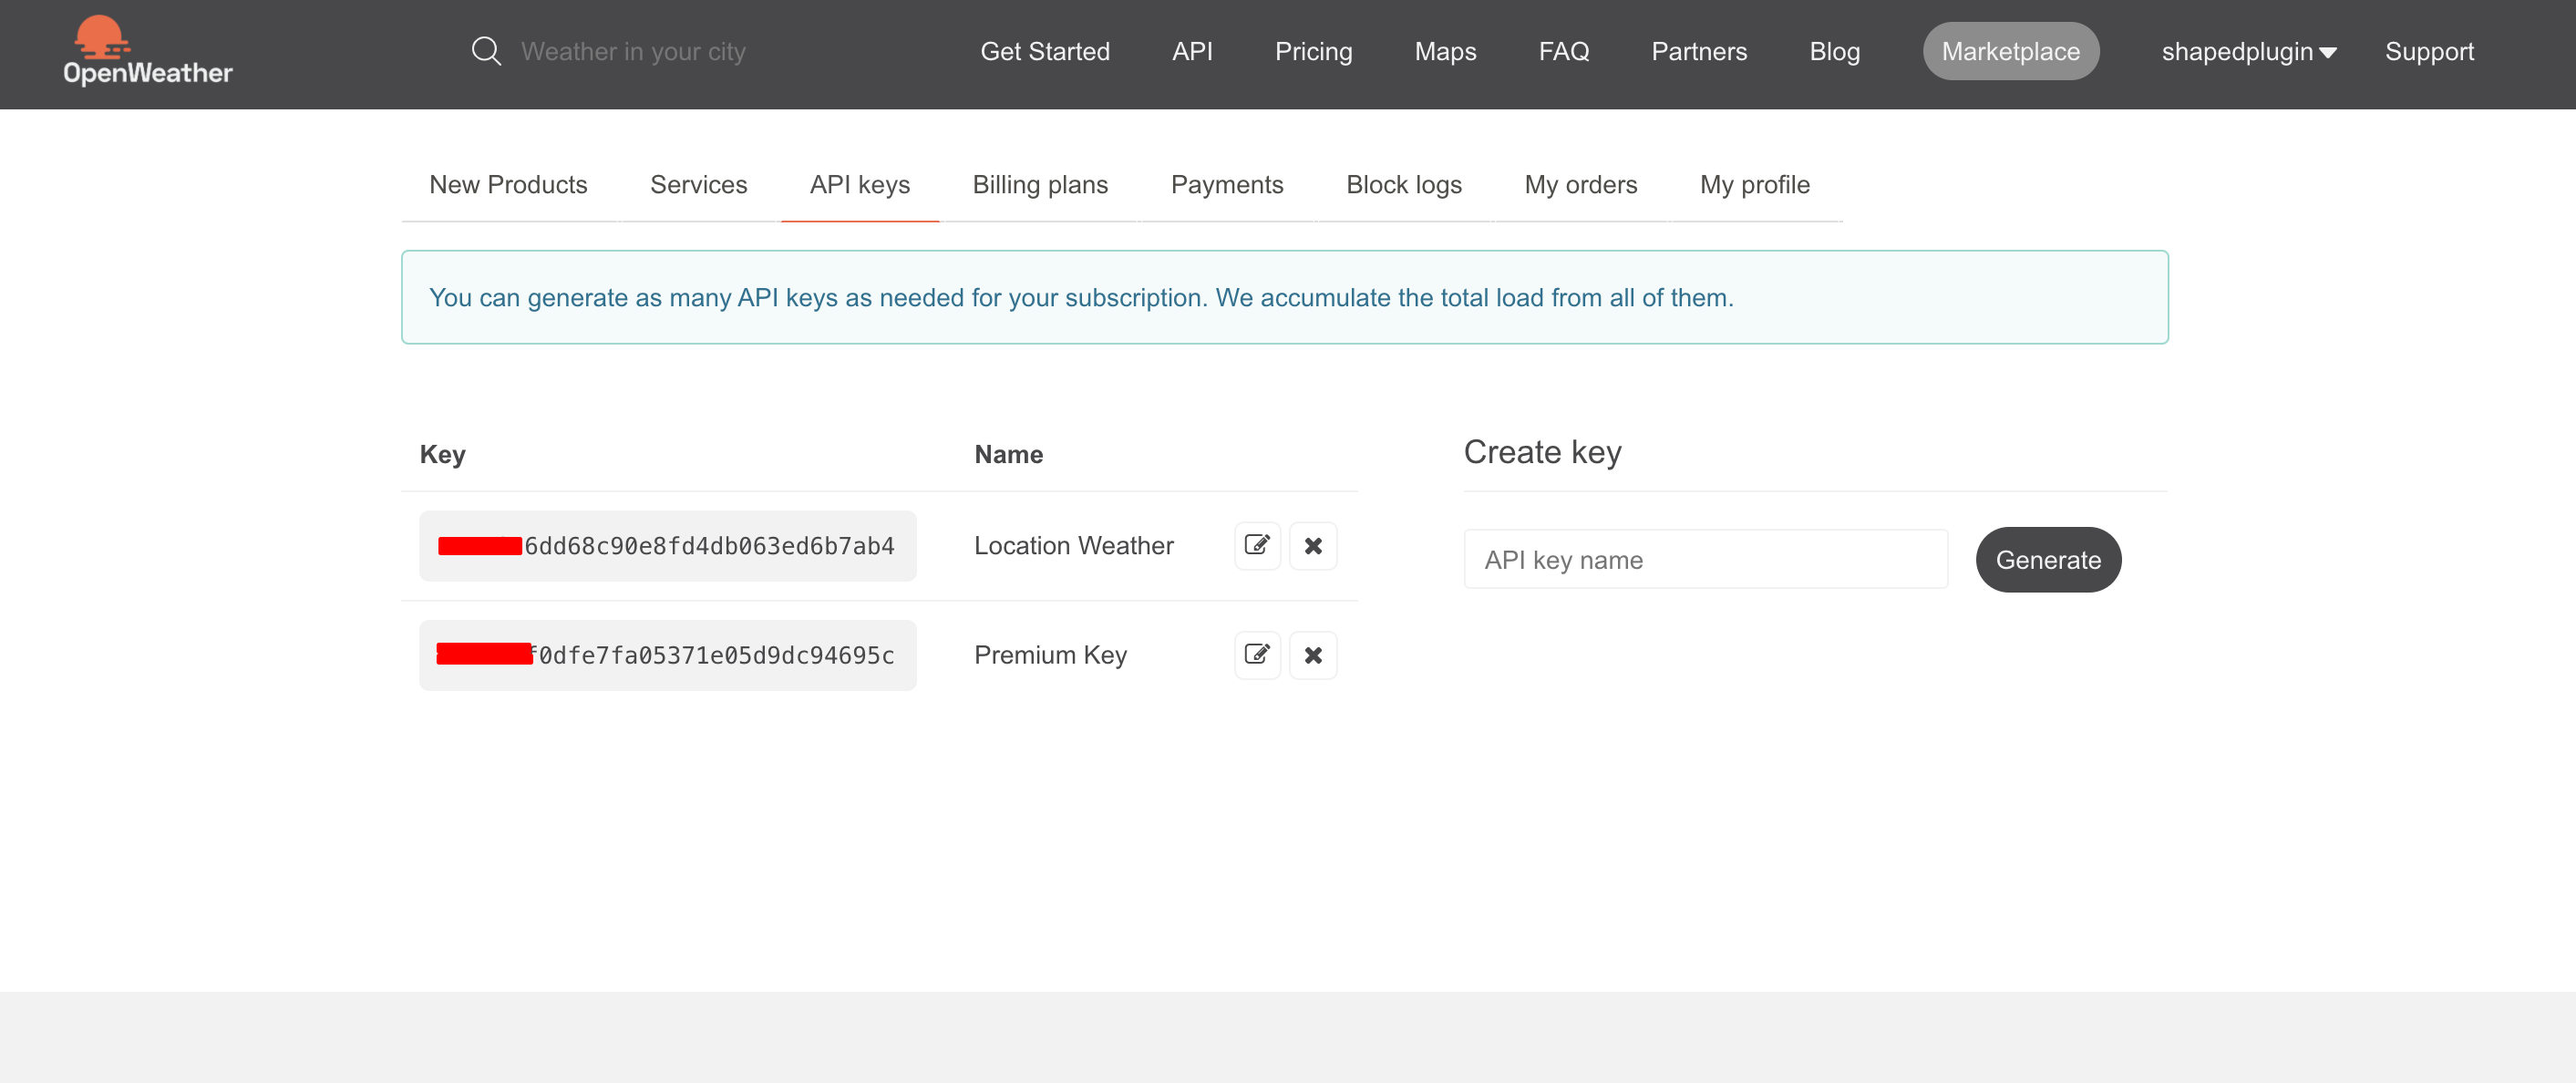
To get started with the plugin, you need an API Key from the OpenWeatherMap for your site. Once you have the API Key, you can SAVE it in the WordPress admin under ‘Settings’ → ‘API Settings’.

Instructions to get your API Key:
- Get your API Key from here→ https://openweathermap.org/appid
After creating your account in OpenWeatherMap simply, you are able to get your API Key. This may take some time to be activated the API Key.
- Go to this URL to see your API Key→ home.openweathermap.org/api_keys
- API Key Example → 3f95891ff71036d0fe76ebadf93bfr22c15r
STEP 2: GENERATE WEATHER SHORTCODE

(1) Click on the Manage Weather menu.
(2) Click on the Add New button.
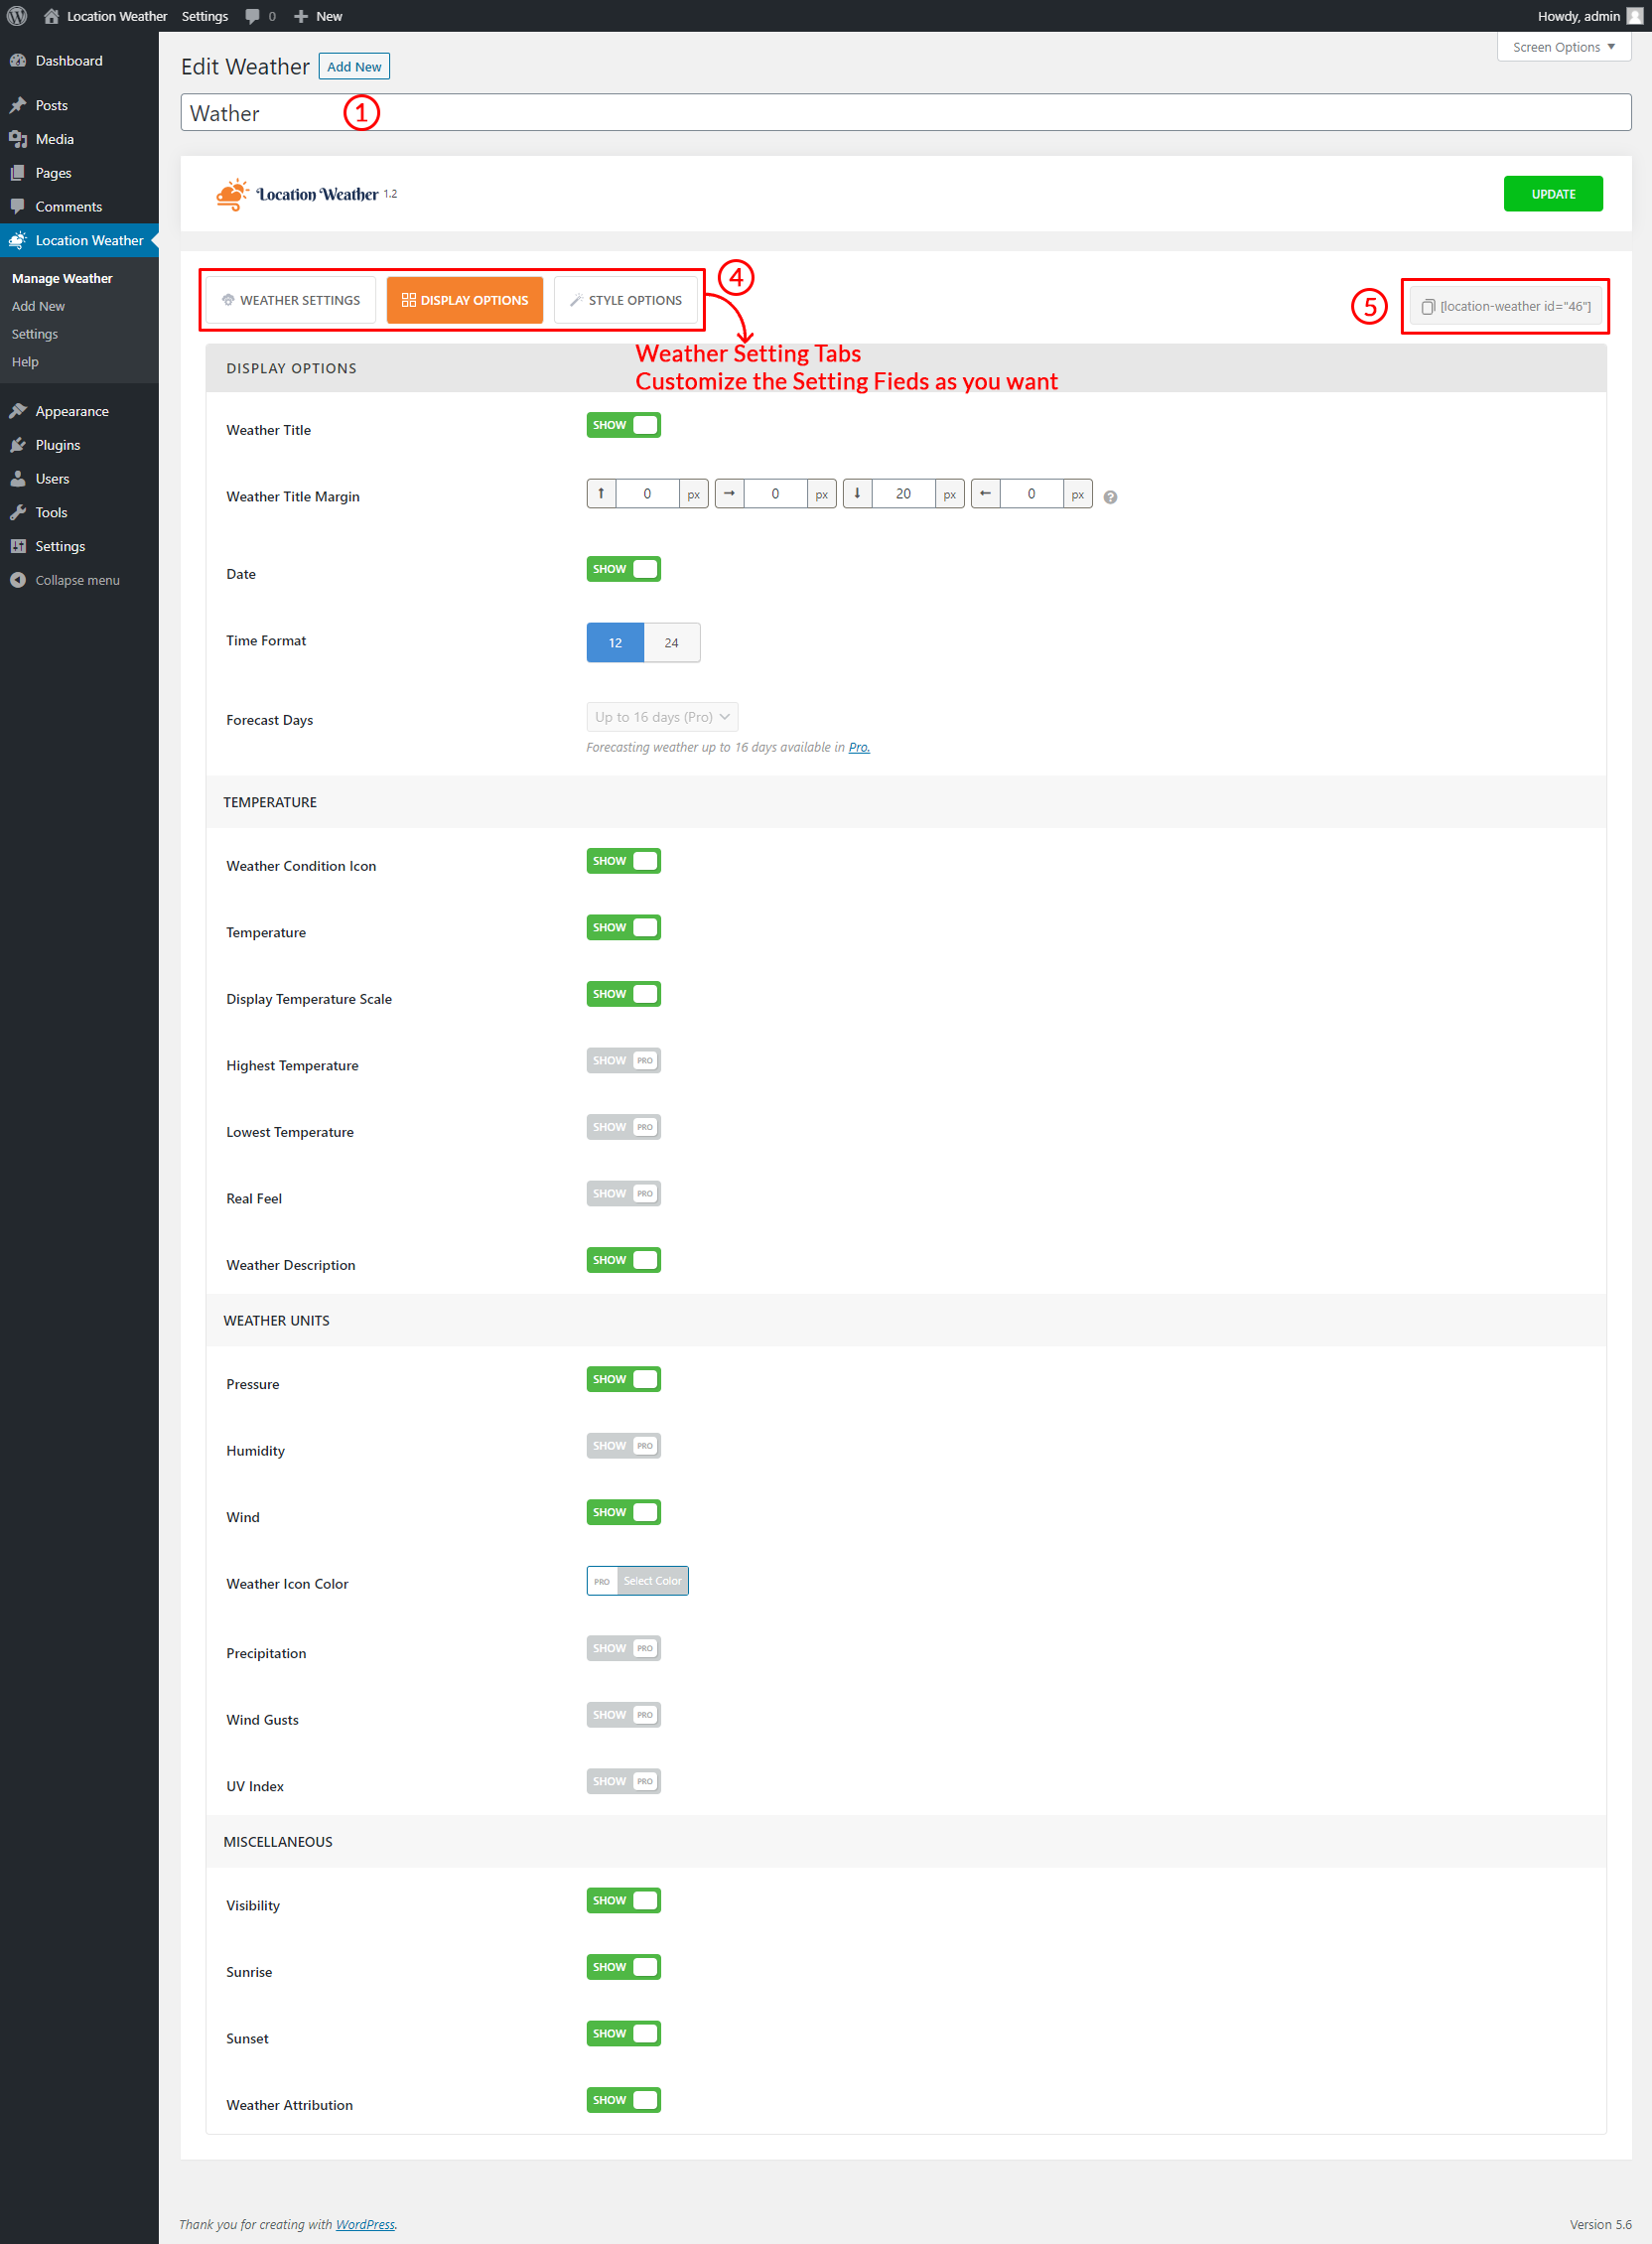
(3) Type a Title used as Weather Title (optional).
(4) You can Customize the Weather Setting Tabs as you want.
(5) And then click on→ Publish and you will see a Shortcode Under the Publish button area.
STEP 3: COPY AND USE THE WEATHER SHORTCODE
Copy and Paste the shortcode to display the weather forecast on your post or page or anywhere you want.

You can also display the weather on the sidebar, footer area, or anywhere you like using the widget.
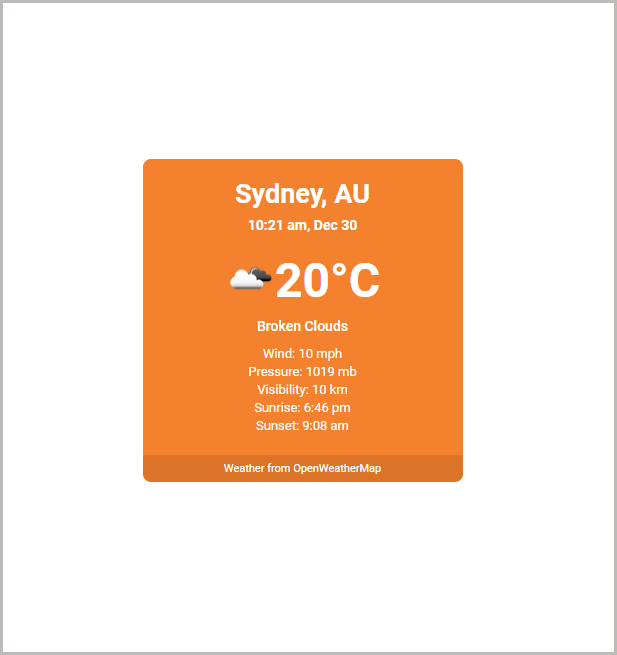
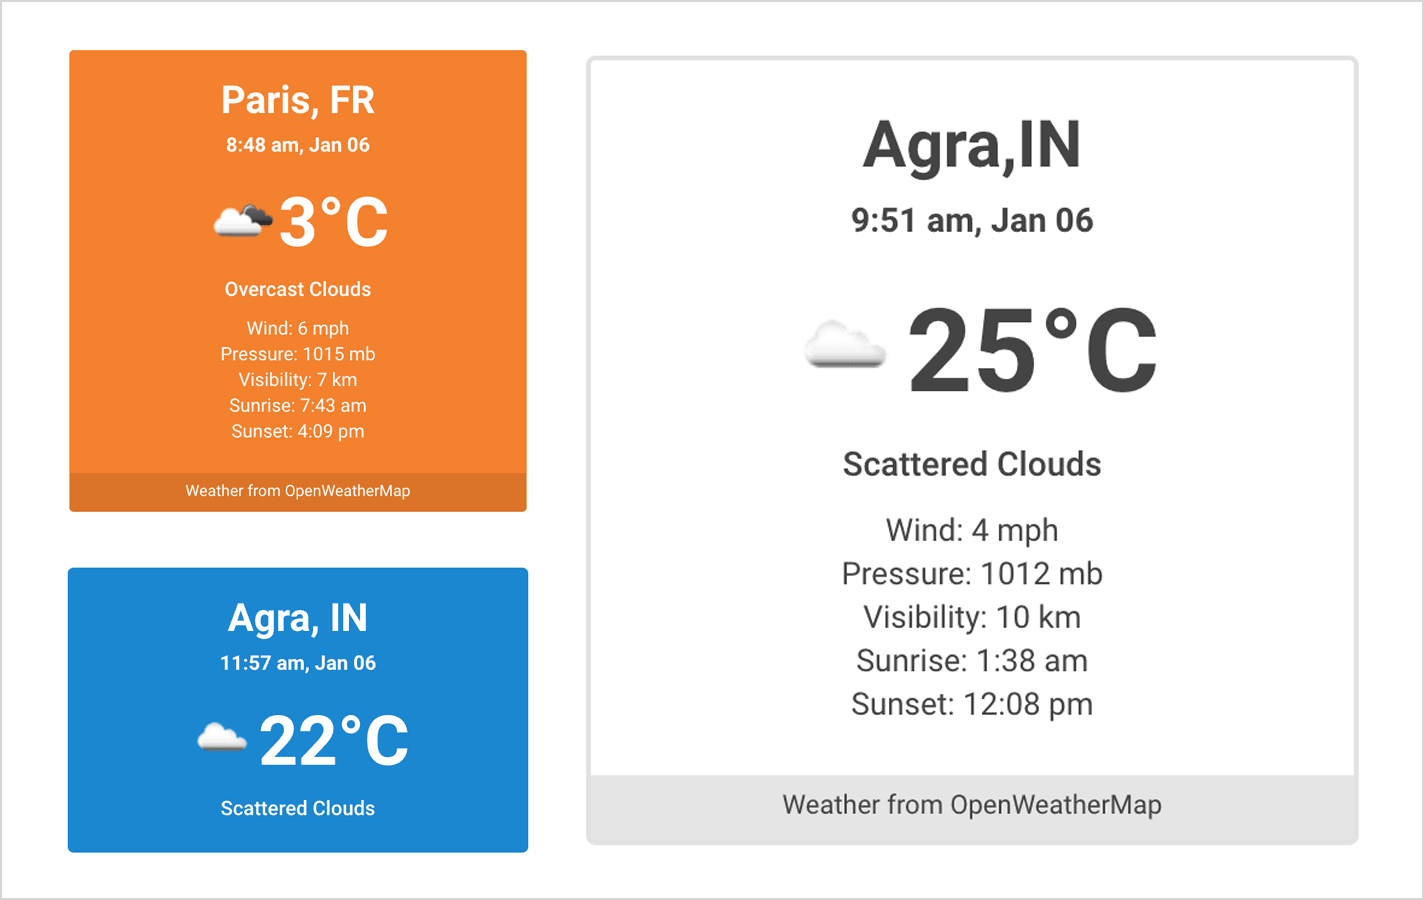
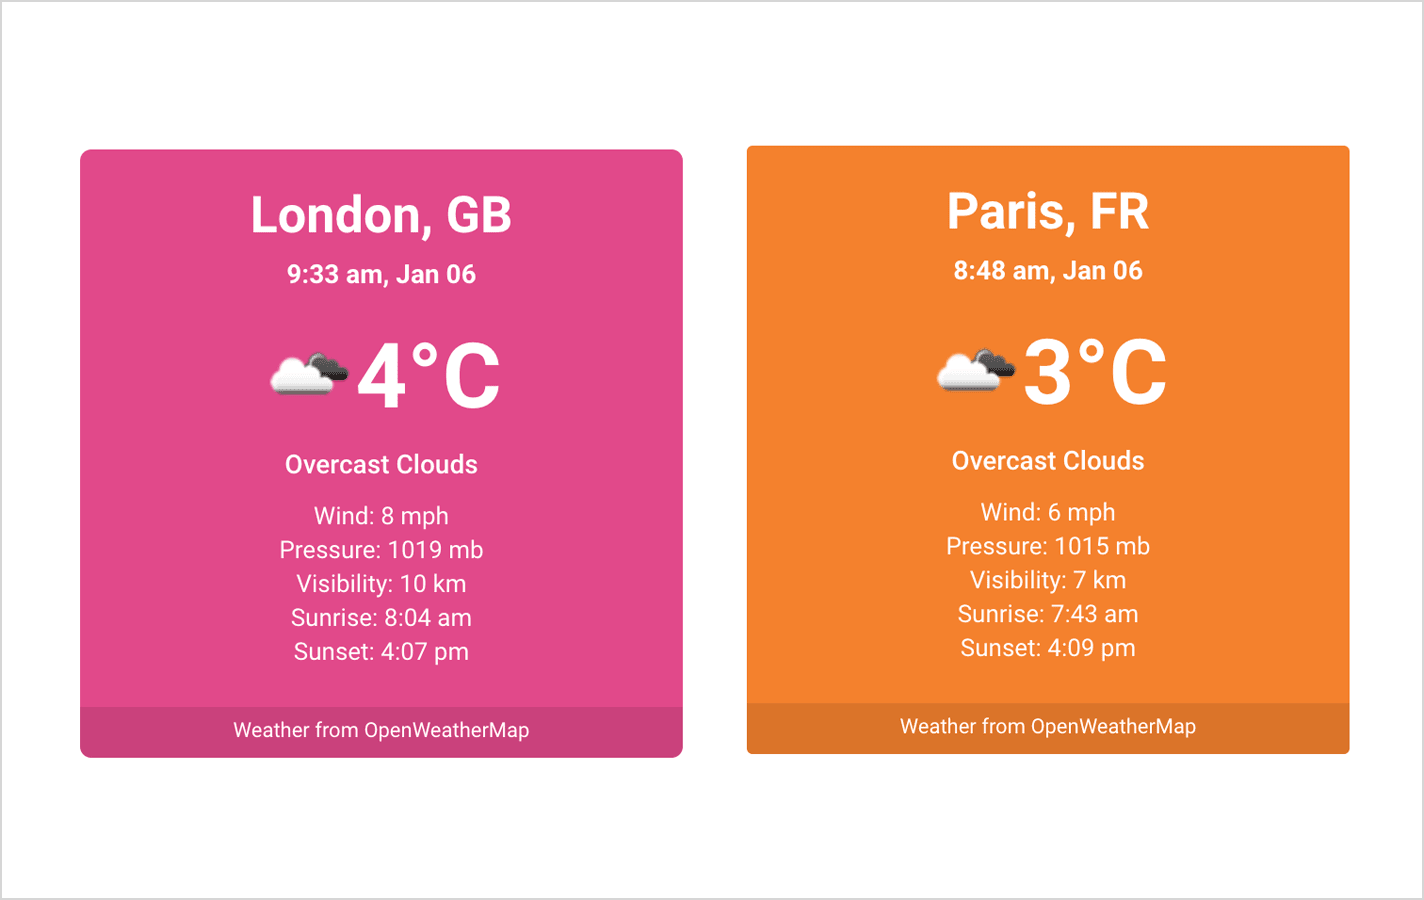
Finally, this will look like this: